Filter your tables and data

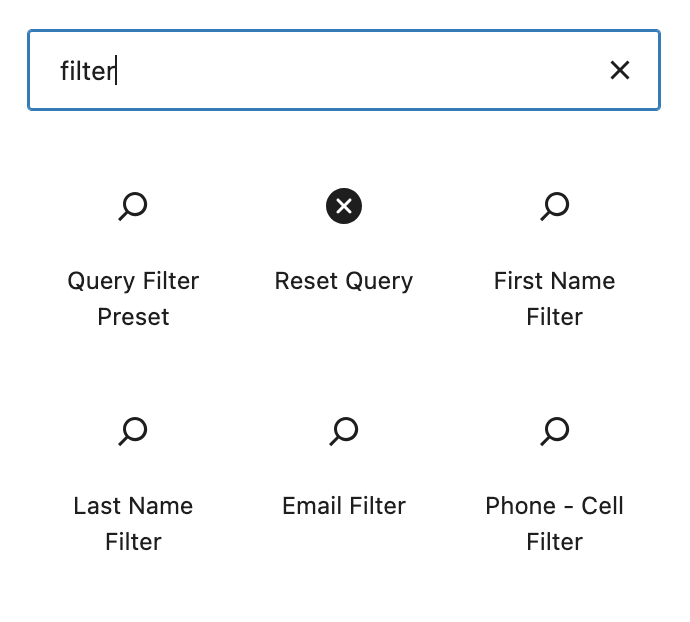
The Query Filters block in Engine Awesome is an advanced tool that empowers users to interactively filter data within a layout. It’s a versatile feature that optimizes data navigation, whether in a Table or Query Item Template block. With the ability to configure filters based on specific fields marked as “Is Searchable“, this block allows you to create a highly tailored user experience.
Key Features of Query Filters:
- Add Searchable Fields:
- You can select any fields that were marked as “Is Searchable” during object creation. This means that you don’t need to index every field in your object, but only those essential for queries. By indexing, Engine Awesome ensures optimal performance while searching large datasets.
- For instance, if you are managing contacts, you might mark fields such as First Name, Last Name, Email, and Phone Number as searchable.
- Create Query Presets:
- The Query Filter Preset block allows you to create reusable, predefined queries with ease. These presets are represented as buttons that can be added to the layout.
- Example: If you’re managing a customer relationship management (CRM) application, you could create a “New Leads” button that automatically searches for leads in the New status. Similarly, a “Follow-up” button could filter leads that require follow-up actions.
- Reset Query:
- This button clears any applied filters, resetting the view back to its default state, making it easy for users to return to the full dataset.
- This feature is particularly useful when users want to see all records after applying a series of filters without having to manually remove each filter.
- Dynamic Filtering:
- Users can apply filters in real-time, meaning that data will instantly adjust based on selected criteria, without needing a page reload. This makes the tool ideal for dashboards and reports where users may want to narrow down data quickly.
- Field Type Adaptability:
- Depending on the type of field, the filter input will change accordingly. For example:
- Text fields (like First Name or Last Name) will display as simple input fields.
- Dropdowns will be used for fields with predefined options (such as Status).
- Date fields will display a calendar picker, allowing users to filter by specific dates or date ranges.
- Depending on the type of field, the filter input will change accordingly. For example:
How to Use the Query Filters Block:

- Adding Searchable Fields: When setting up an object type, ensure that only the most relevant fields are marked as “Is Searchable.” This ensures that the user interface remains clean and efficient, preventing unnecessary fields from being added as filters.
- Placing Filters in Your Layout:
- Add the Query Filters block to any layout where you display a list of items or detailed data records. These filters will allow users to adjust the displayed information without leaving the page.
- The filter block should be positioned prominently, such as at the top of a list view or within a dashboard.
Using Query Presets:

- To create a query preset:
- Add the Query Filter Preset block.
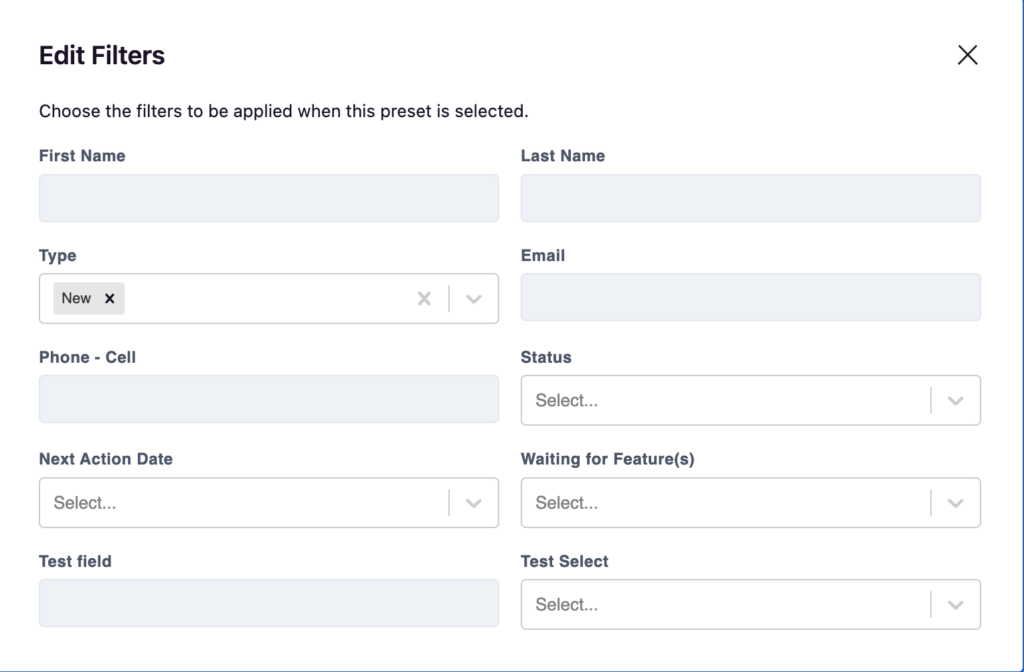
- Click the Edit button, which opens the “Edit Filters” screen.
- Select the fields and the corresponding values for the preset.
- After saving, users can trigger this preset query by simply clicking the preset button, instantly applying the filters and displaying relevant records.
- Example: You may create a “Pending Payments” preset filter that shows all customers with overdue invoices.
Reset Query Button:
The Reset Query button provides a straightforward way to clear all active filters and display the complete dataset again. This is particularly helpful when users need to start a new search or return to a broad overview of the data.
Default Preset

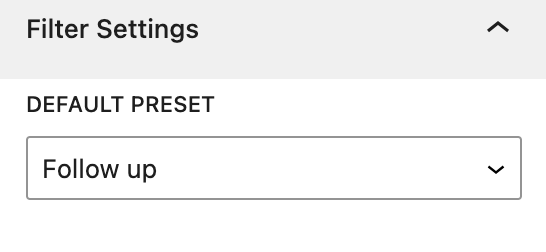
The Filter Settings for the Query Filters block offer one main option: Default Preset. This setting allows you to select a specific filter preset that will be automatically applied when the layout is loaded. Any Query Preset you created is available.
For example, if you choose “Follow up” as the default preset, the filter will automatically apply the conditions from that preset without the user needing to manually select it.
This is particularly useful for layouts that are designed to show specific data sets by default, such as open tasks or overdue items.
Best Practices:
- Filter Placement: Place the Query Filters block in areas where users commonly need to search or narrow down data. Dashboards, reports, or list views are prime candidates.
- Efficient Use of Searchable Fields: Only mark fields as searchable if users will actively search through them. Avoid making every field searchable to prevent performance issues and unnecessary complexity in your filters.
- Use Query Presets for Efficiency: For common, repeatable queries, make use of Query Filter Preset buttons. They reduce the effort users need to make, offering a one-click solution to frequently used filters.
- Combine Filters with Pagination: When working with large datasets, using filters alongside Pagination ensures that users can easily navigate through filtered results without overwhelming them with too much data at once.
Benefits of Query Filters:
- Streamlined User Experience: Filters make it simple for users to find exactly what they need, cutting through the noise and presenting relevant data instantly.
- Customizable Data Views: By leveraging query presets and dynamic filters, you give users the flexibility to customize their views, without needing to navigate away from the page or create new queries manually each time.
- Real-Time Interactions: Filters work dynamically, meaning that users see the results of their queries immediately, fostering a seamless and responsive user experience.
The Query Filters block transforms how users interact with data, offering high flexibility, instant feedback, and powerful options to customize how data is presented and filtered. Whether you’re building dashboards, managing lists, or building custom reports, the Query Filters block will enhance how users engage with your data.